Marlin Tyre and Mechanical Workshop Software supports multiple branches within single or multiple companies.
Stores and traders with their own Business Identification Numbers need to be set up as separate Companies, rather than branches.
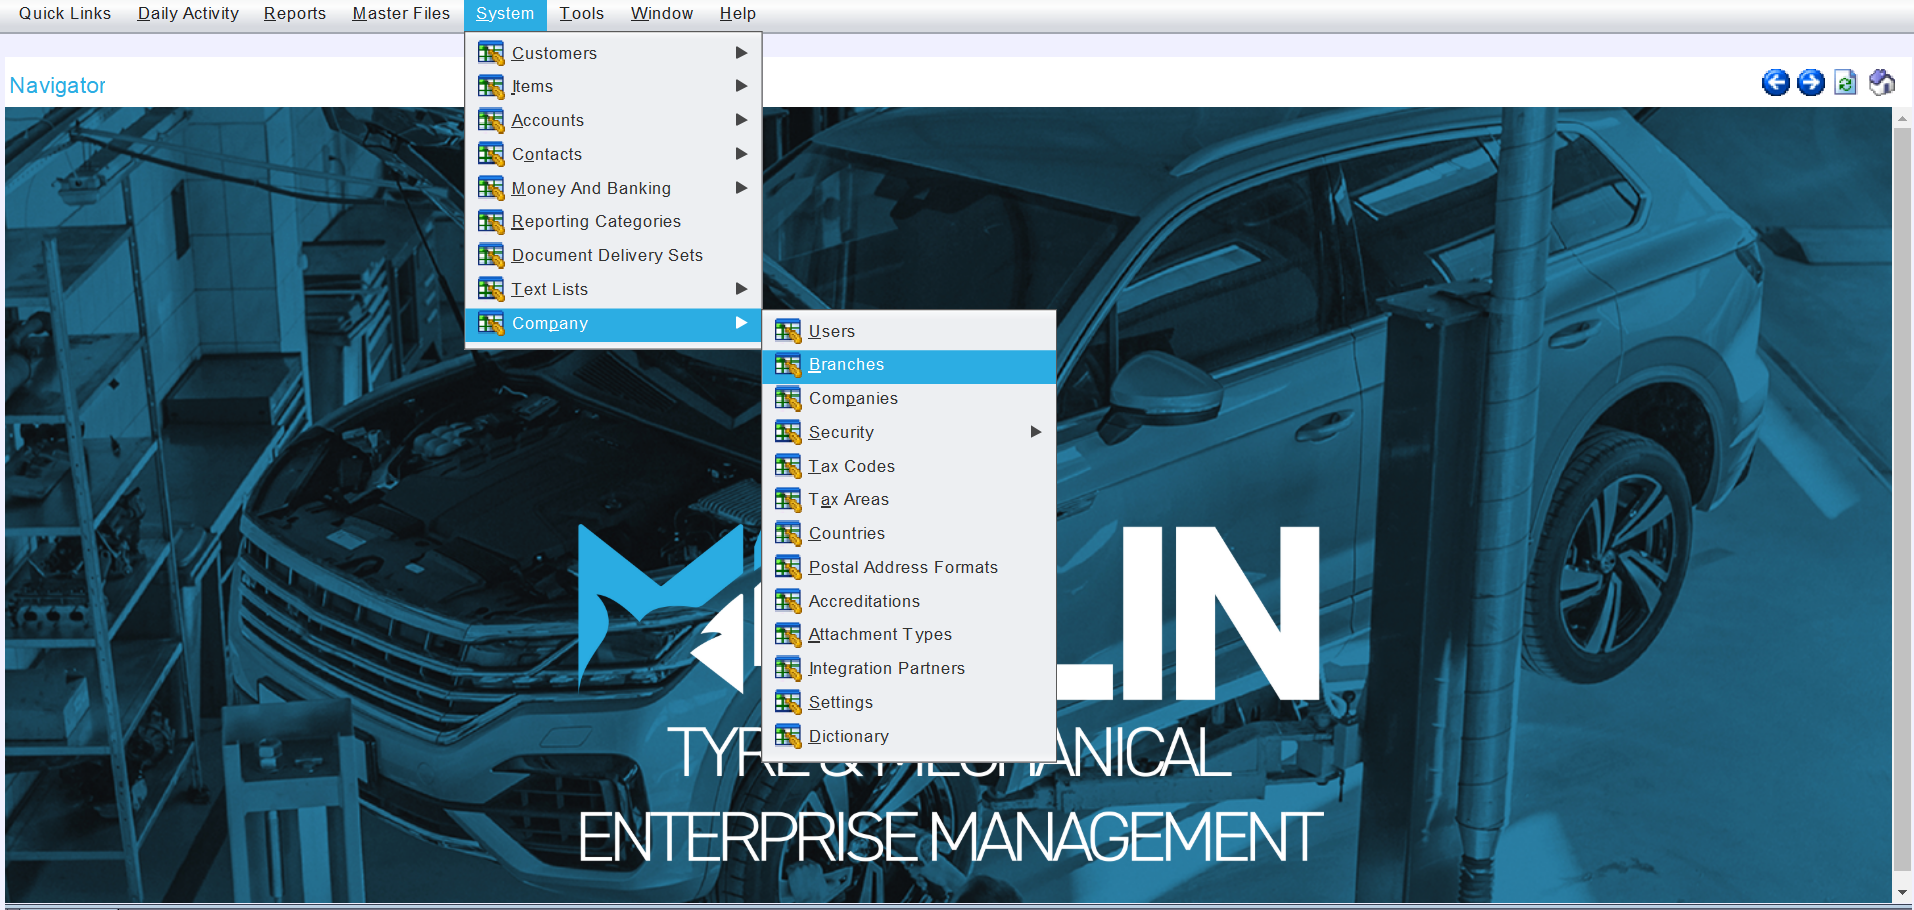
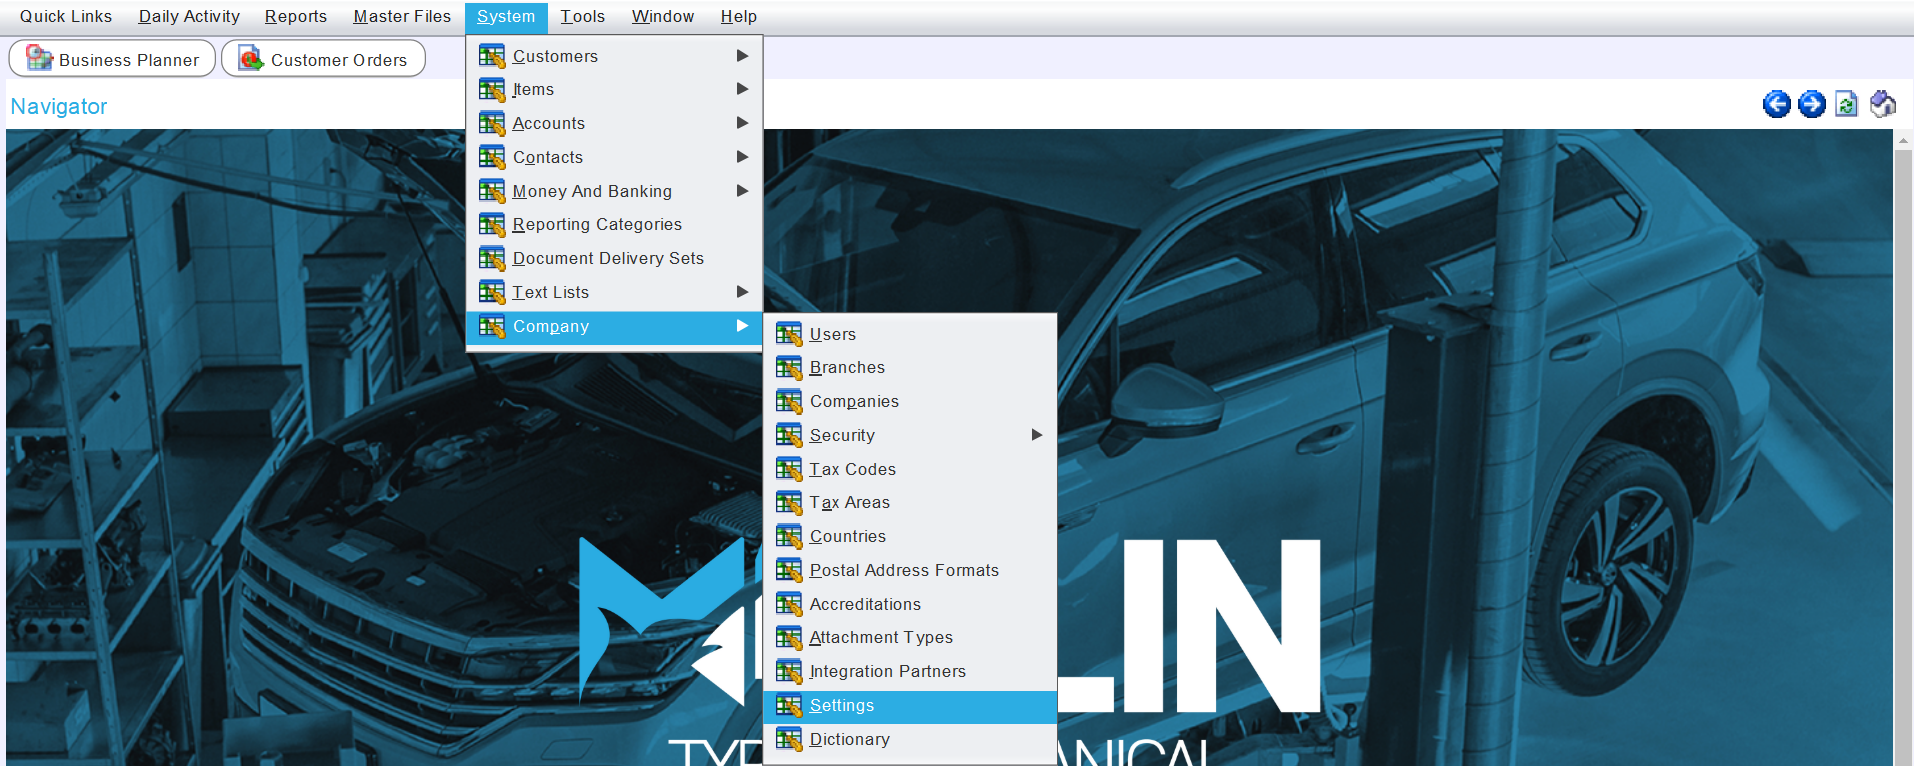
To access the Branches module, select System > Company > Branches from the menu bar.
The Branches module will open on the Search page, showing a list of active branches within the Marlin system.
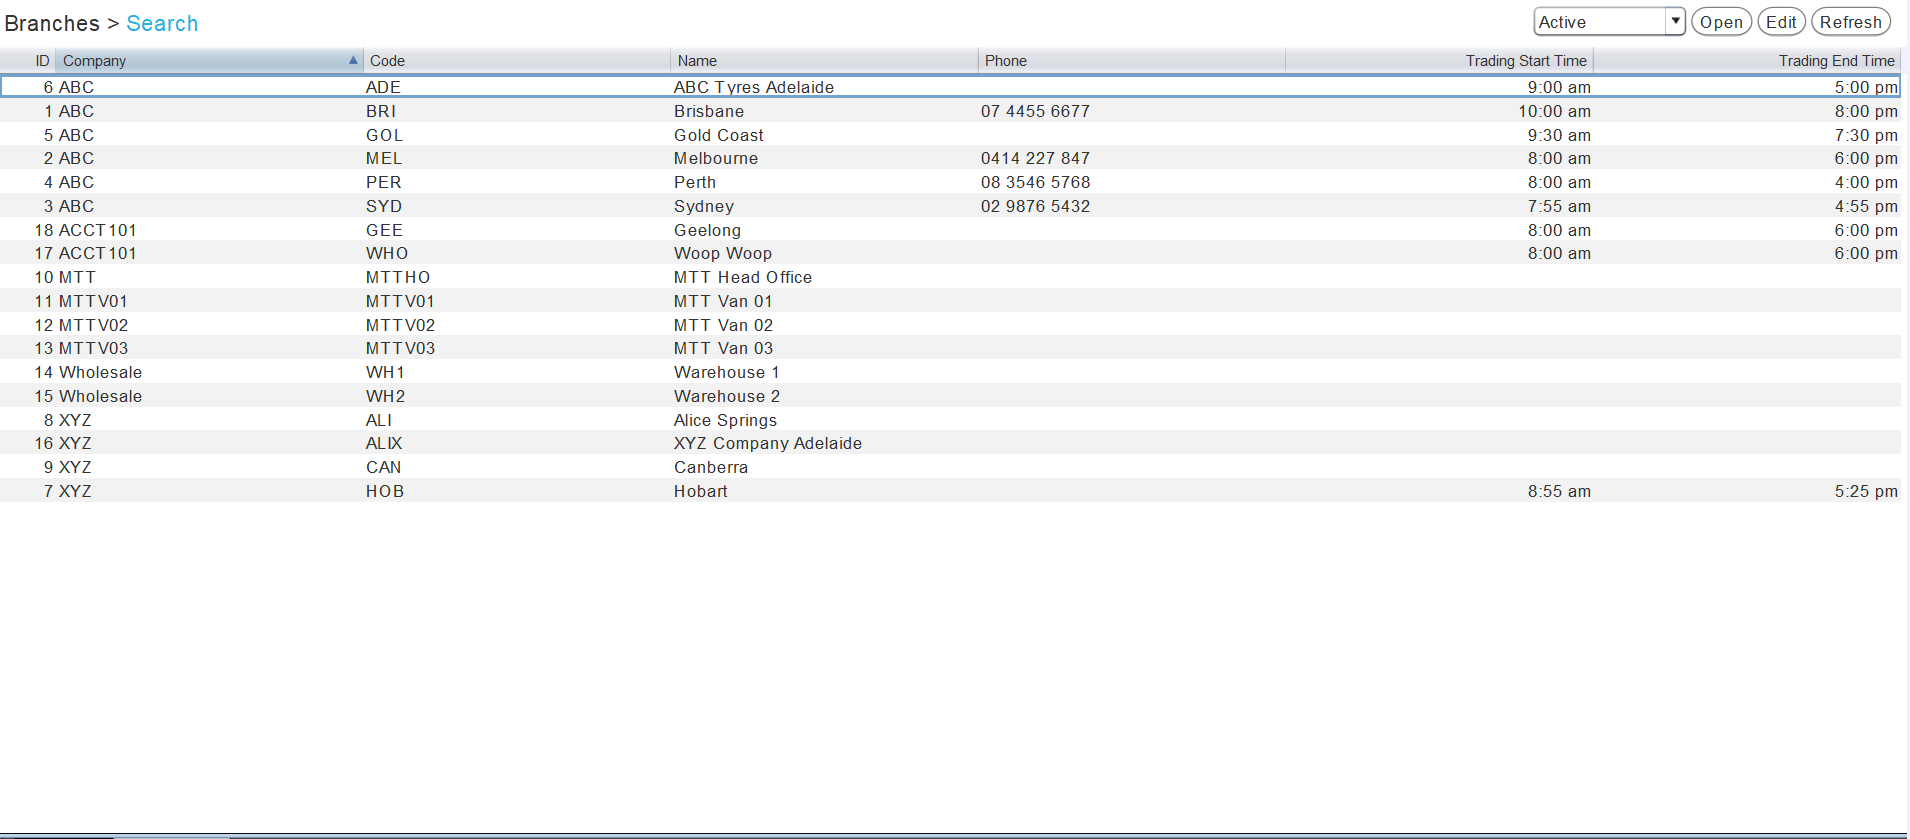
Branches can only be added by the Megabus Support Team, however, existing companies can be edited by users with the appropriate permissions.
Editing Branch Details
System > Company > Branches
To the top right of the Branches Search list, click on the Edit action button.

The branch window will open on the Details tab.
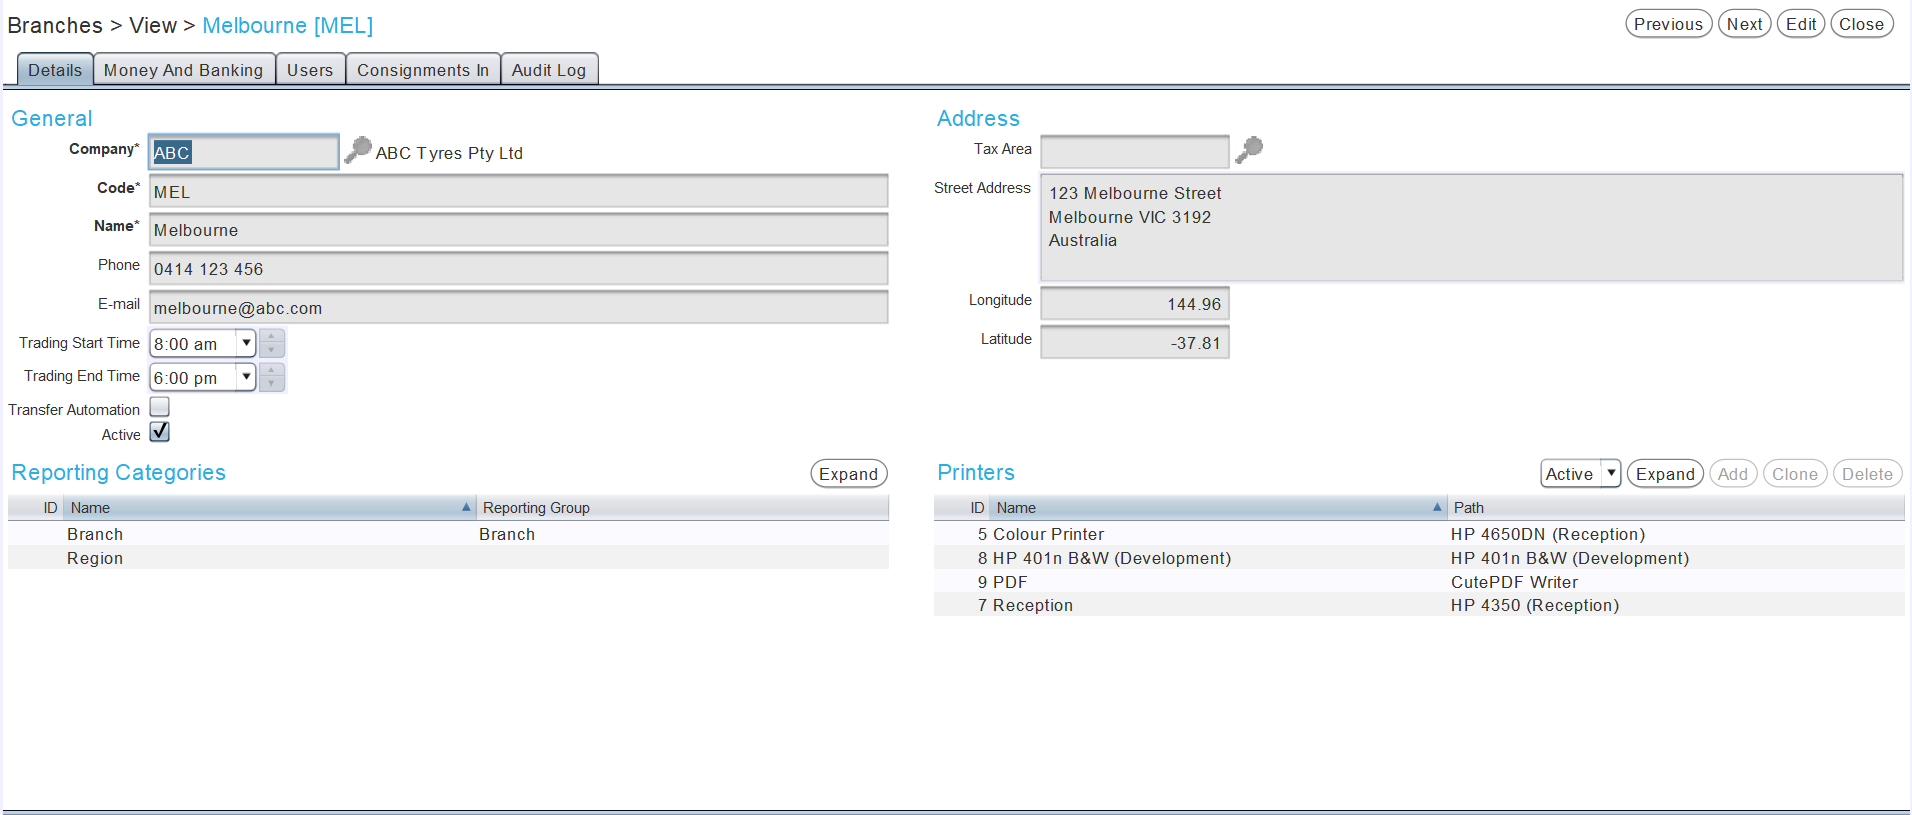
General Branch Details
System > Company > Branches > [Branch] > Details
Details including the Branch's Code, Name, Phone number, E-Mail address, Time Zone, Trading Start Time and Trading End Time can be updated by editing the fields in the General section on the top-left of its details tab.
The Time Zone setting affects the times that are shown on documents, including the Job Card.
A branch's Trading Start Time and Trading End Time determines the timeslots available in the Business Planner.
If start and end times are not selecting for the branch, then the times specified by the Planner.DefaultStartTime and Planner.DefaultEndTime enterprise setting will be used for the Business Planner. The enterprise setting times will also restrict what times can be selected at the branch. If the times required to be selected at the branch are not available, the times on the enterprise setting may need to be extended.
Branch Addresses
System > Company > Branches > [Branch] > Details
The branch's address details can be updated by editing the fields in the Address section at the top right of its details tab.
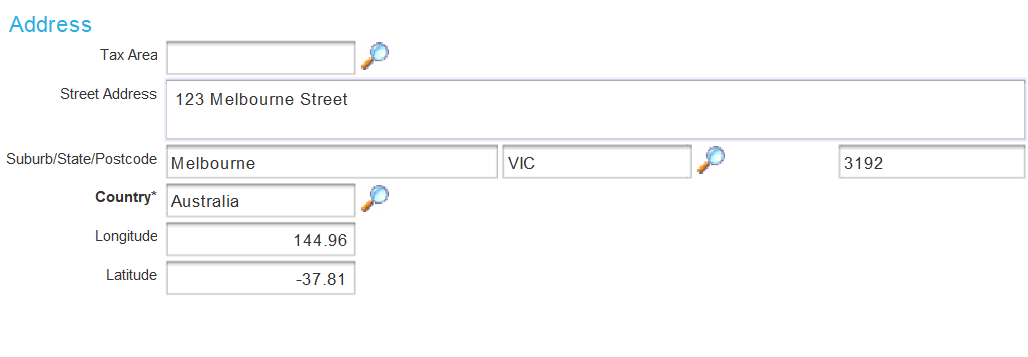
A specific Tax Area can be associated with the branch using the picker at the top.
Entering the Longitude and Latitude of a branch in the textboxes at the bottom enables integration with Google Location Services, allowing closer branches to be prioritised in the Item Explorer and during branch transfers.
Branch Reporting Categories
System > Company > Branches > [Branch] > Details
The branch can be associated with reporting categories using the Reporting Group pickers in the Reporting Categories list at the bottom-left of its details tab.

Branch Printers
System > Company > Branches > [Branch] > Details
Although printers can be added to the Printers section at the bottom-right of the Details tab, printing directly from Marlin is currently unsupported.
Marlin documents can still be printed by first exporting them to PDF and then printing using a different program.
Branch Money and Banking
System > Company > Branches > [Branch]
Bank accounts, EFT terminals and cash registers can be associated branches by opening them in edit mode and clicking on the Money and Banking tab at the top of the module window.
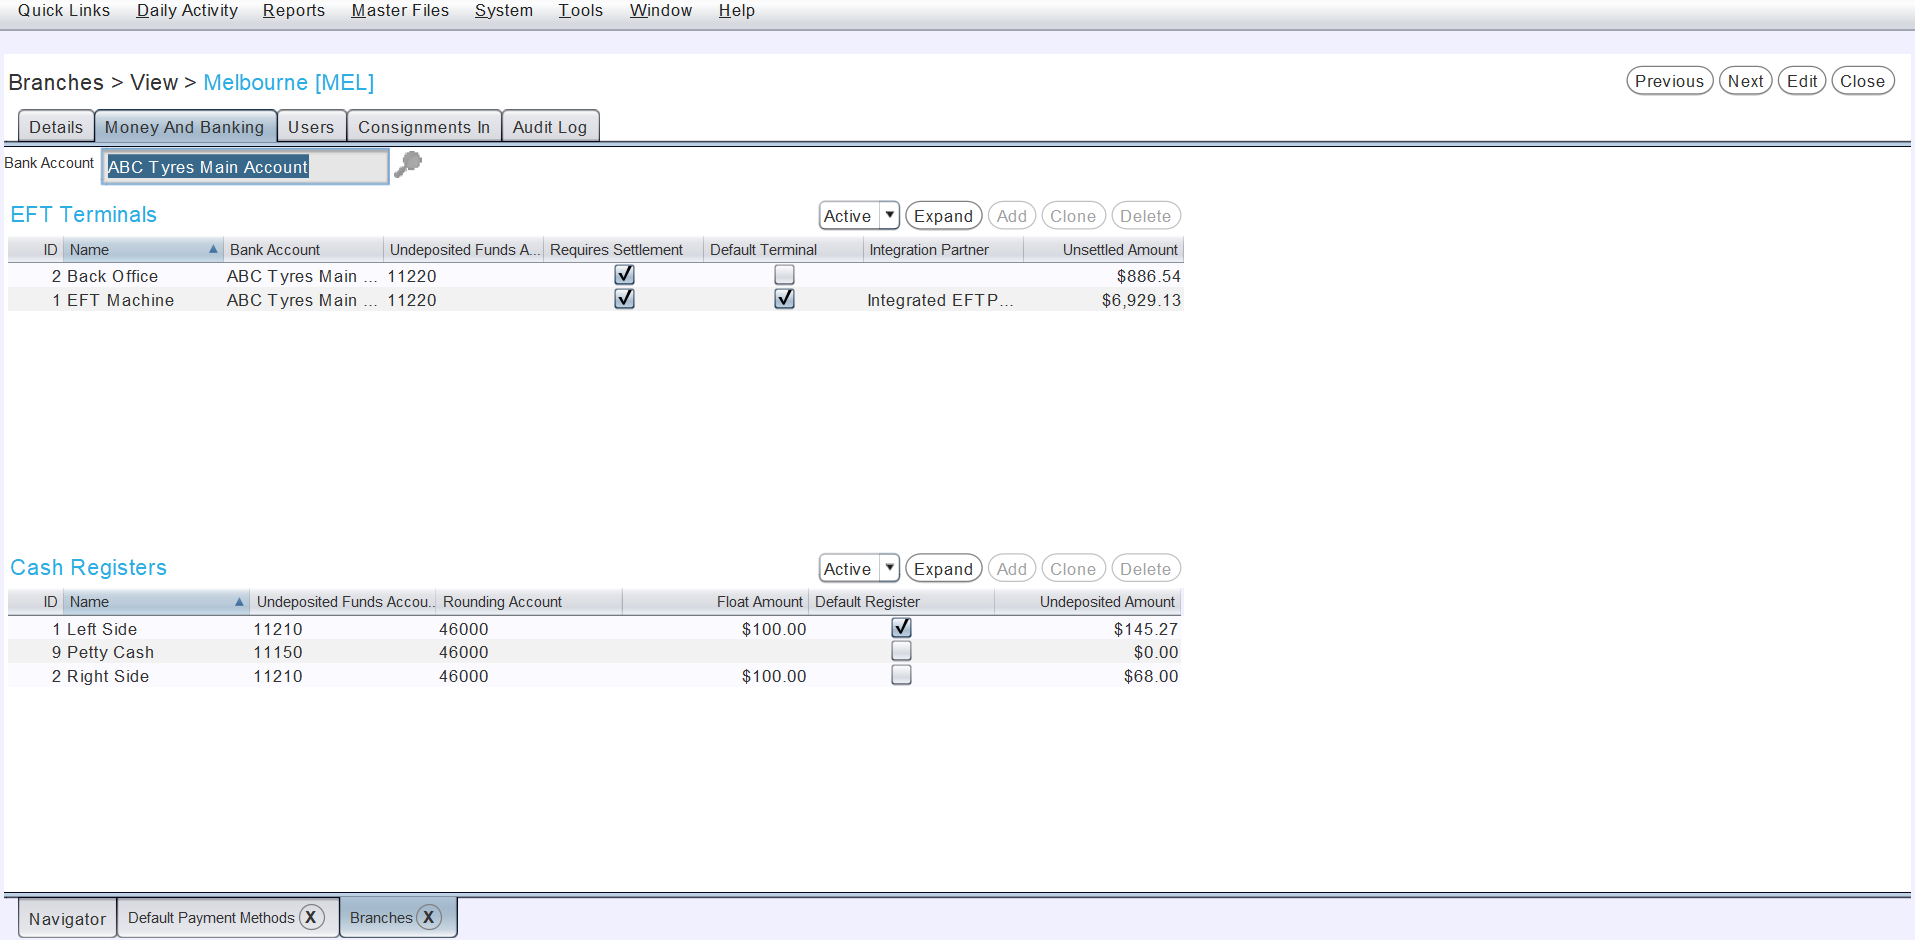
The Bank Account picker at the top of the Money and Banking tab can be used to set the default account for bank deposits and which will appear on invoice documents if the Print Bank Details setting is enabled.
Whether bank details are printed on invoice documents can be set by selecting System > Company Settings from the menu bar, clicking on the Company Settings tab at the top and locating the CustomerInvoice.PrintBankDetails report setting.
The EFT Terminals list below can be used to add and edit EFTPOS terminals associated with the branch.
The Cash Registers list below can be used to add and edit cash registers associated with the branch.
Branch Users
System > Company > Branches > [Branch]
Specific user settings for each branch can be set by opening the branch in edit mode and clicking on the Users tab at the top of the module window.
The users tab shows a list of all active users within the Marlin system.
Whether a user can log in to the branch can be set by ticking or unticking the relevant Login checkbox.
To enable a user to log into the branch, tick the relevant Login checkbox.
To enable a user to be selected as a sales person for the branch, tick the relevant Sales Person checkbox.
To enable a user to be selected as a technician for the branch, tick the relevant Technician checkbox.
The system User Roles for specific users can also be viewed by double clicking on them in the Users list.
User access to specific branches can also be set using the Branches list in their User Details tab.
Branch Consignments
System > Company > Branches > [Branch]
A list of consignment items for a branch, including their Qty on Hand and Qty on Consignment In can be viewed by clicking on the Consignments In tab at the top of the module window.
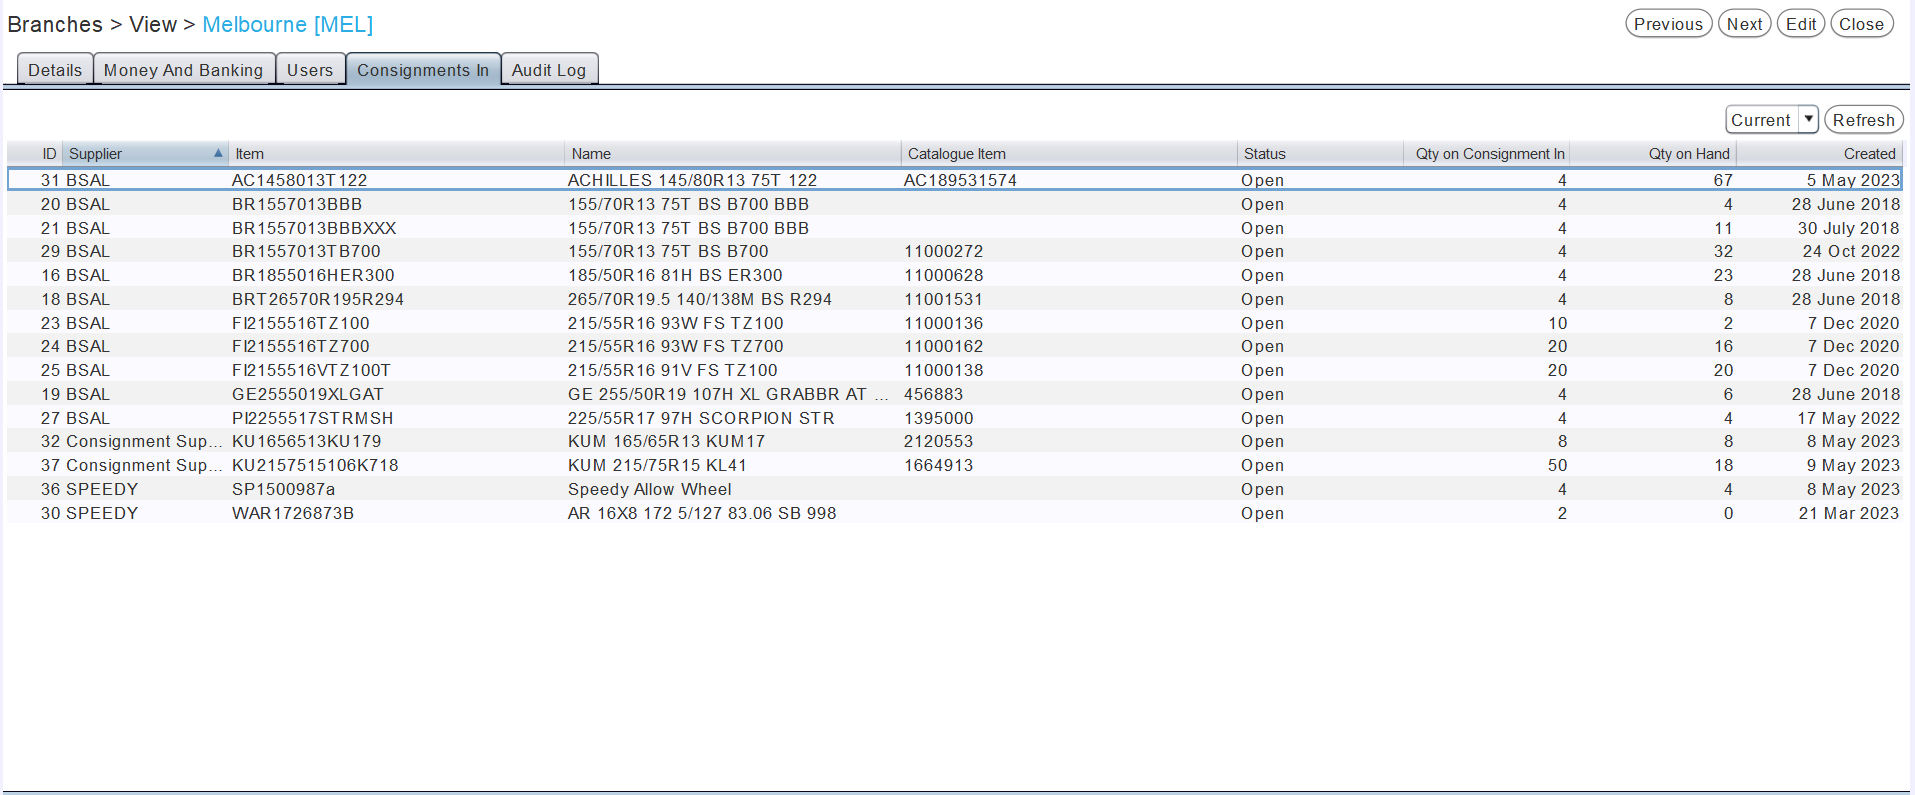
Additional information about each item can be shown by double-clicking on them.
Branch Settings
Branch-specific settings can be accessed by selecting System > Company > Settings from the menu bar.
The settings module will open on the Enterprise Settings tab.
At the top of the module window, click on the Branch Settings tab.
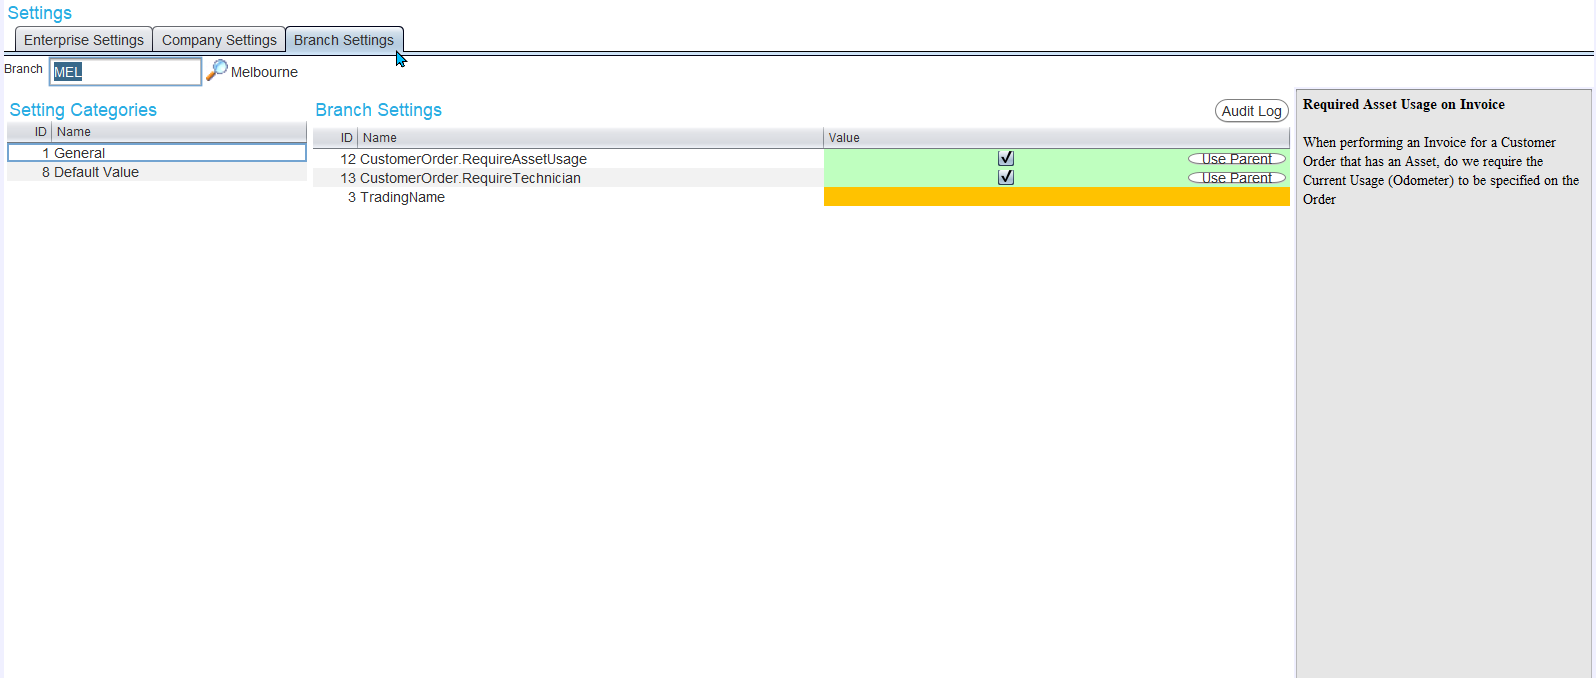
An individual Branch Trading name that will appear on all customer documents can be entered in the Value textbox of the TradingName setting, if desired.
Settings for different branches that a user has access to can be accessed using the Branch picker to the top-left.
The selected branch's Default Registration Issuer can also be updated by clicking on the Default Value category on the left and editing the CustomerAsset.DefaultRegistrationIssuer value.
Descriptions of selected settings can be read in the section on the right.
Settings currently being overridden by an enterprise or company level setting are highlighted in orange, while those that are overriding an enterprise level setting are highlighted in green. For overriding (green) settings determined by a checkbox value, the Use Parent button to the right can be clicked to remove the override and defer the setting to the enterprise setting value. For all other types of settings, the override can be removed by leaving the value textbox blank.