Marlin GTX enables attachments such as documents, images, or signatures to be linked with transactions and records.
Attachments can be added in the following places:
- Customer and supplier records
- Owner/vehicle records (in AutoTracker Inquiry)
- Quotes, work orders, and invoices
- Customer receipts, including receipt reversals, deposit refunds
- Supplier delivery dockets and invoices
- Consignment in receipts and returns
- Credit notes, credit requests, and credit reversals
- Supplier payments and payment reversals
- Supplier statement reconciliations
- Cashbook and bank reconciliation entries
- Journal entries
In some centralised systems: Attachments can only be added or edited at the head office.
Adding Attachments to Records
Attachments can be added to customer, supplier and vehicle records.
To add attachments to records:
- Maintenance Record: Open the customer/supplier/vehicle record from the appropriate Maintenance module
- AutoTracker: Search for and open vehicle or owner
- Click on the Attachments tab
- Click Add

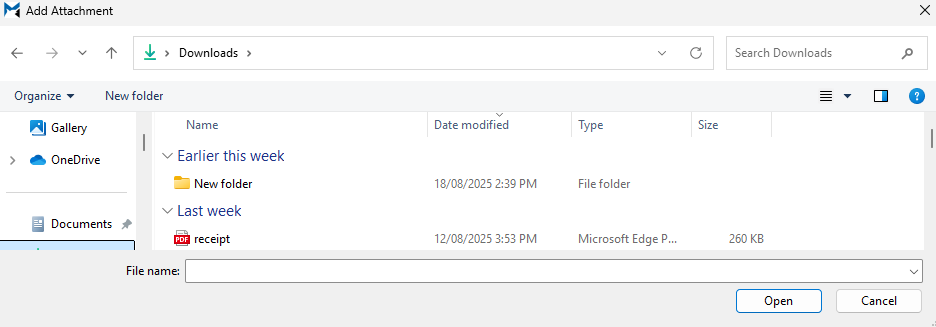
The Add Attachment pop-up will open:
- Select the attachment from your hard drive
- Click Open
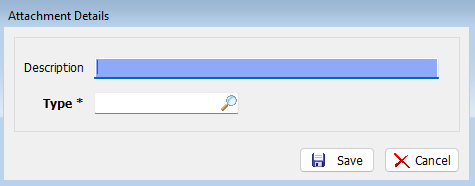
The Attachment Details pop-up will open:
- Enter a Description of the attachment
- Select the attachment Type
- Click Save
The attachment will be added to the list and can be edited, deleted, opened, saved or emailed as required, using the buttons above.

Adding Attachments to Transaction
[Transaction]
To add attachments to transactions:
- Click on Attach at the top of the module window

The Add Attachment pop-up will open and can be added using the same method for adding attachments to records.
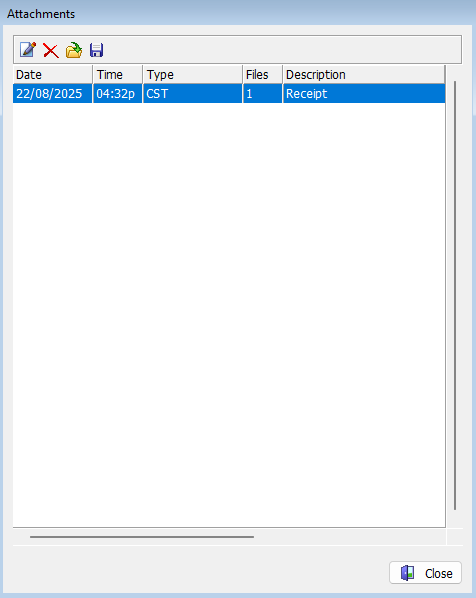
The number of attachments is shown next to the Attachment button and can be viewed by clicking on the Attachments button to the right.

The Attachments pop-up will open showing the attachments, and can be edited, deleted, opened, saved or emailed as required, using the buttons at the top.
Transaction History Attachments
To view or add attachments for historical transactions:
- Open the relevant maintenance record
- Click on the Transactions tab at the top
- Select the transaction
- Click on the Show Details button at the top

- The Details pop-up will open:
- Click on the right arrow to reveal the other tabs
- Click on the Attachments tab

Attachments can then be viewed and edited as usual.
Click on the Show Details again to close the details window when you're done.
Copy & Paste Attachments
GTX also enables you to copy and paste documents to a Customer, Supplier, Product etc.
This functionality is available to everyone but is of particular importance to hosted Marlin GTX systems as server security prevents them from opening file explorer to attach documents in the normal way.
To attach an image using copy and paste:
- Find the file on your local machine
- Right-click on the file and select Copy from the popup menu
- Open the item (e.g. Customer, Supplier etc) you would to attach the file to
- Click on the Add icon and then select Paste

Enter a Description and select the file type
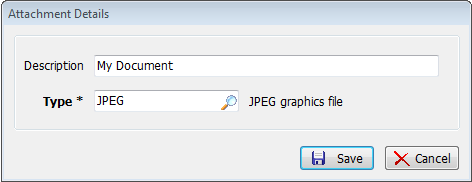
Click on the Save button and the document will be attached.
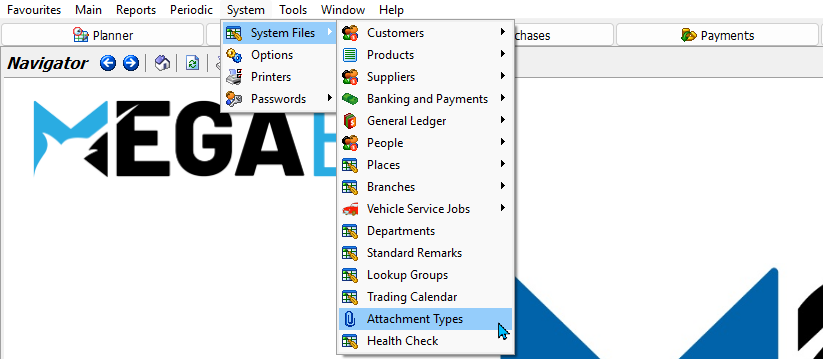
Attachment Types
System > System Files > Attachment Types
Attachment types classify files and define handling rules, such as whether attachments:
- Replicate to head office
- Convert to PDF
- Print on transactions
Attachment types can be added and edited by selecting System > System Files > Attachment Types from the menu bar.
Adding Attachment Types
System > System Files > Attachment Types
New attachment types can be added by clicking on the Add button at the top of Attachment types module.

The Add Attachment Type window will open.

In the Details tab:
- Enter a unique Code and Name
- Tick or clear the checkboxes as appropriate:
- HO Replication: Replicates the attachment in the head office system
- PDF Conversion: Converts compatible files to PDF when attached
- Print on Transaction: Also prints the attachment as part of transaction receipt
- Allowed File Types: Optionally, enter a comma separated list to define which file types can be uploaded
- The list must be entered as a comma-separated string without spaces.
Example: "jpg,jpeg,pdf,png,bmp,gif,tif,tiff" - Leaving the field blank means any file type can be chosen.
- The list must be entered as a comma-separated string without spaces.
- Click Save


